iOS Mobile App: JourneyTracker
Overview
-
How to track a journey
-
How to configure app preferences
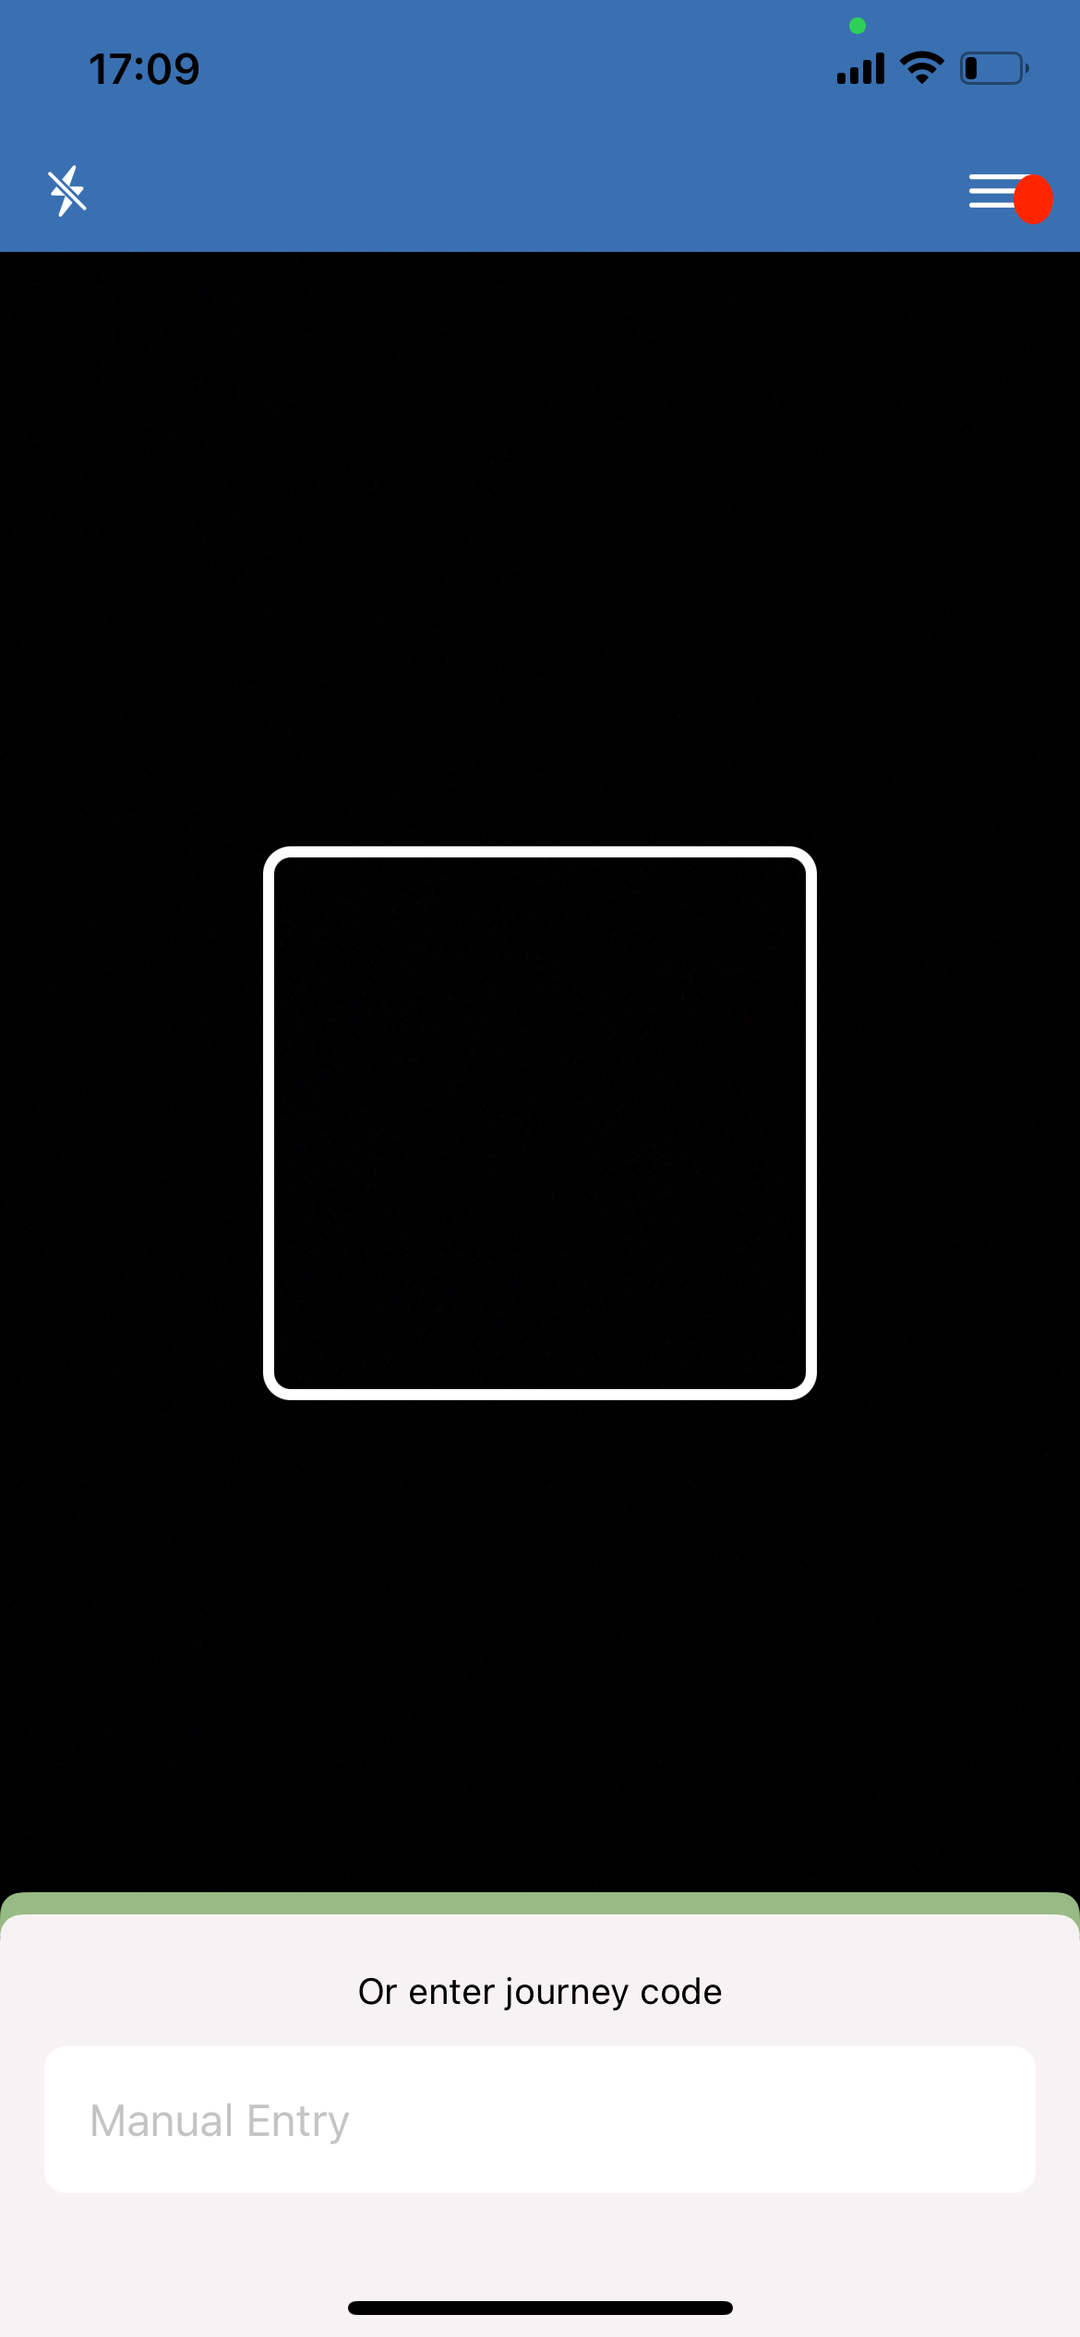
1. How to track a journey
After obtaining a journey manifest code:
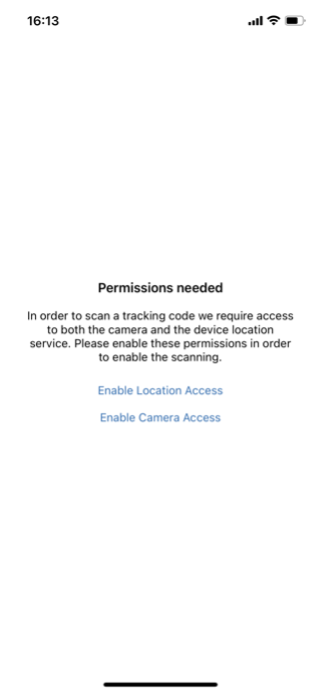
-
Open the app
-
Grant all necessary permissions (camera and location access)
![Picture 1.png](https://static.wixstatic.com/media/6b9d1a_c4b95471cfab4f468fe515e3e7102d5e~mv2.png/v1/fill/w_169,h_365,al_c,q_85,usm_0.66_1.00_0.01,enc_auto/Picture%201.png)
-
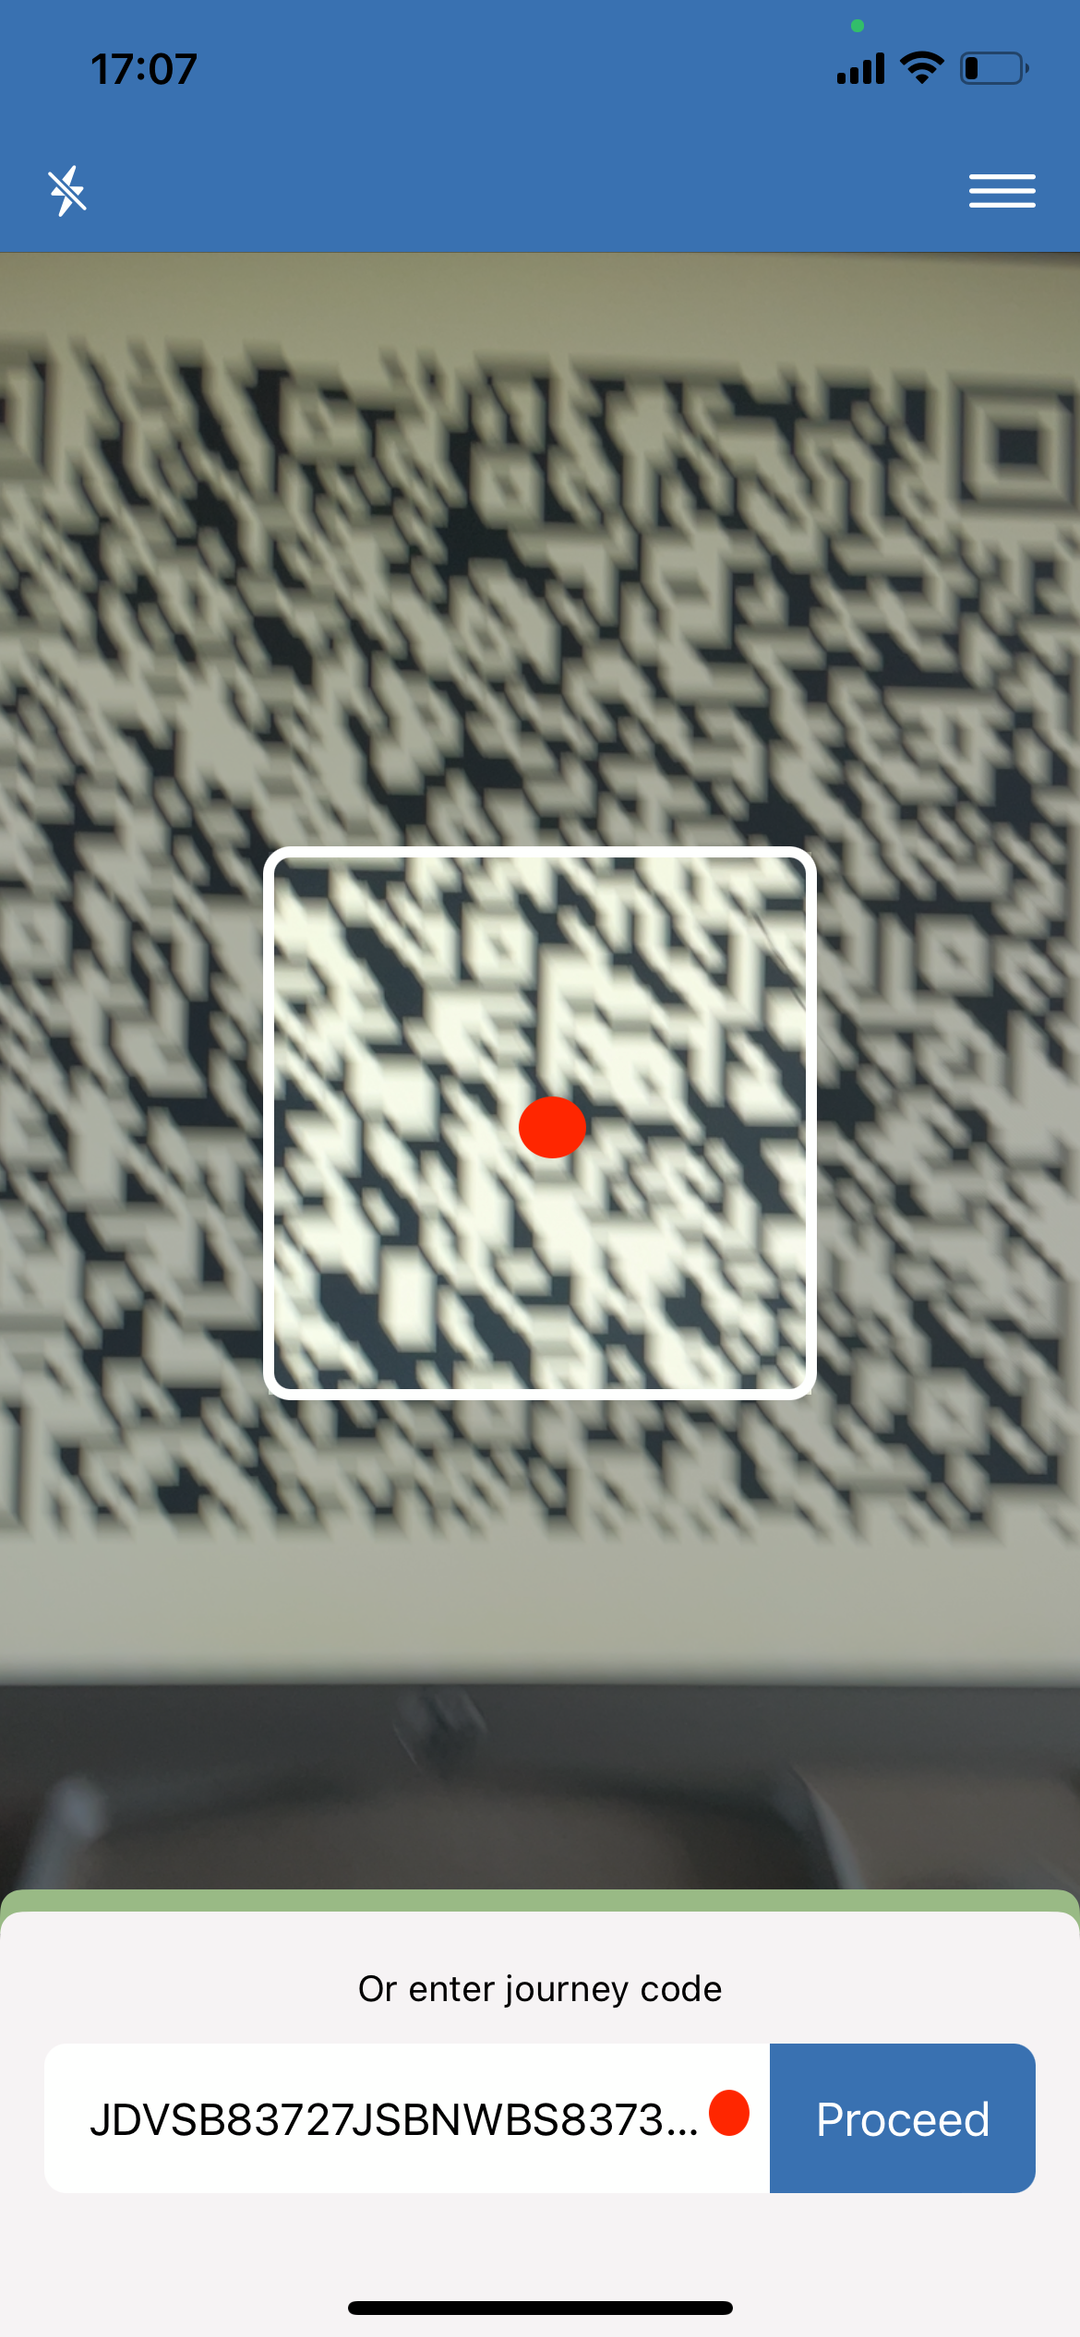
Scan, or manually enter, the journey manifest code
![IMG_0761.PNG](https://static.wixstatic.com/media/6b9d1a_16b601af53c54347a2d1156ecb97f989~mv2.png/v1/fill/w_169,h_366,al_c,q_85,usm_0.66_1.00_0.01,enc_auto/IMG_0761_PNG.png)
-
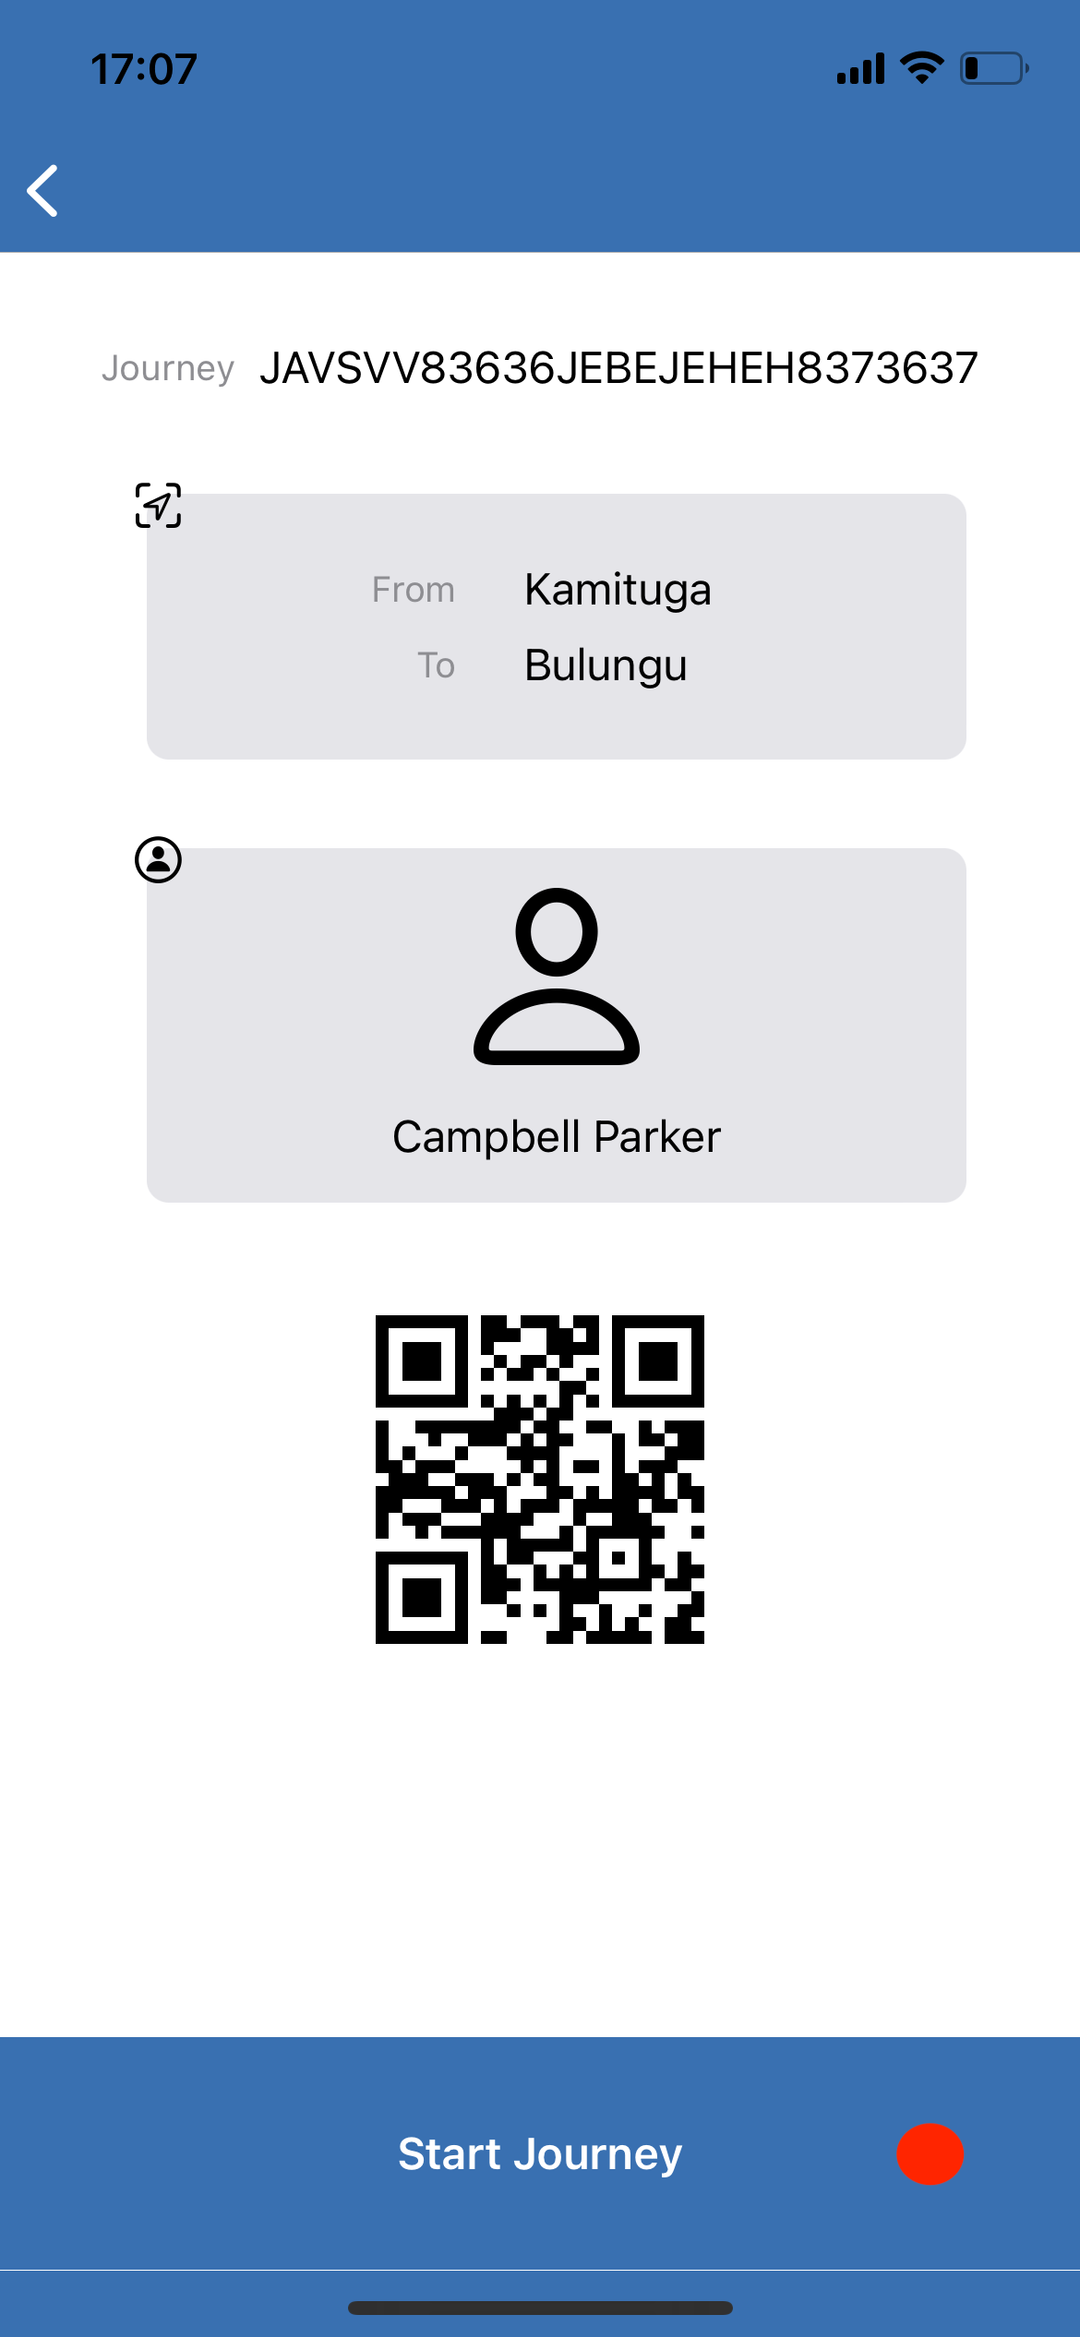
Confirm the journey data presented on the screen and press ‘Start Journey’
![IMG_0762.PNG](https://static.wixstatic.com/media/6b9d1a_4a595e8c575a4f6e8d8471d8ccc6732e~mv2.png/v1/fill/w_169,h_366,al_c,q_85,usm_0.66_1.00_0.01,blur_3,enc_auto/IMG_0762_PNG.png)
-
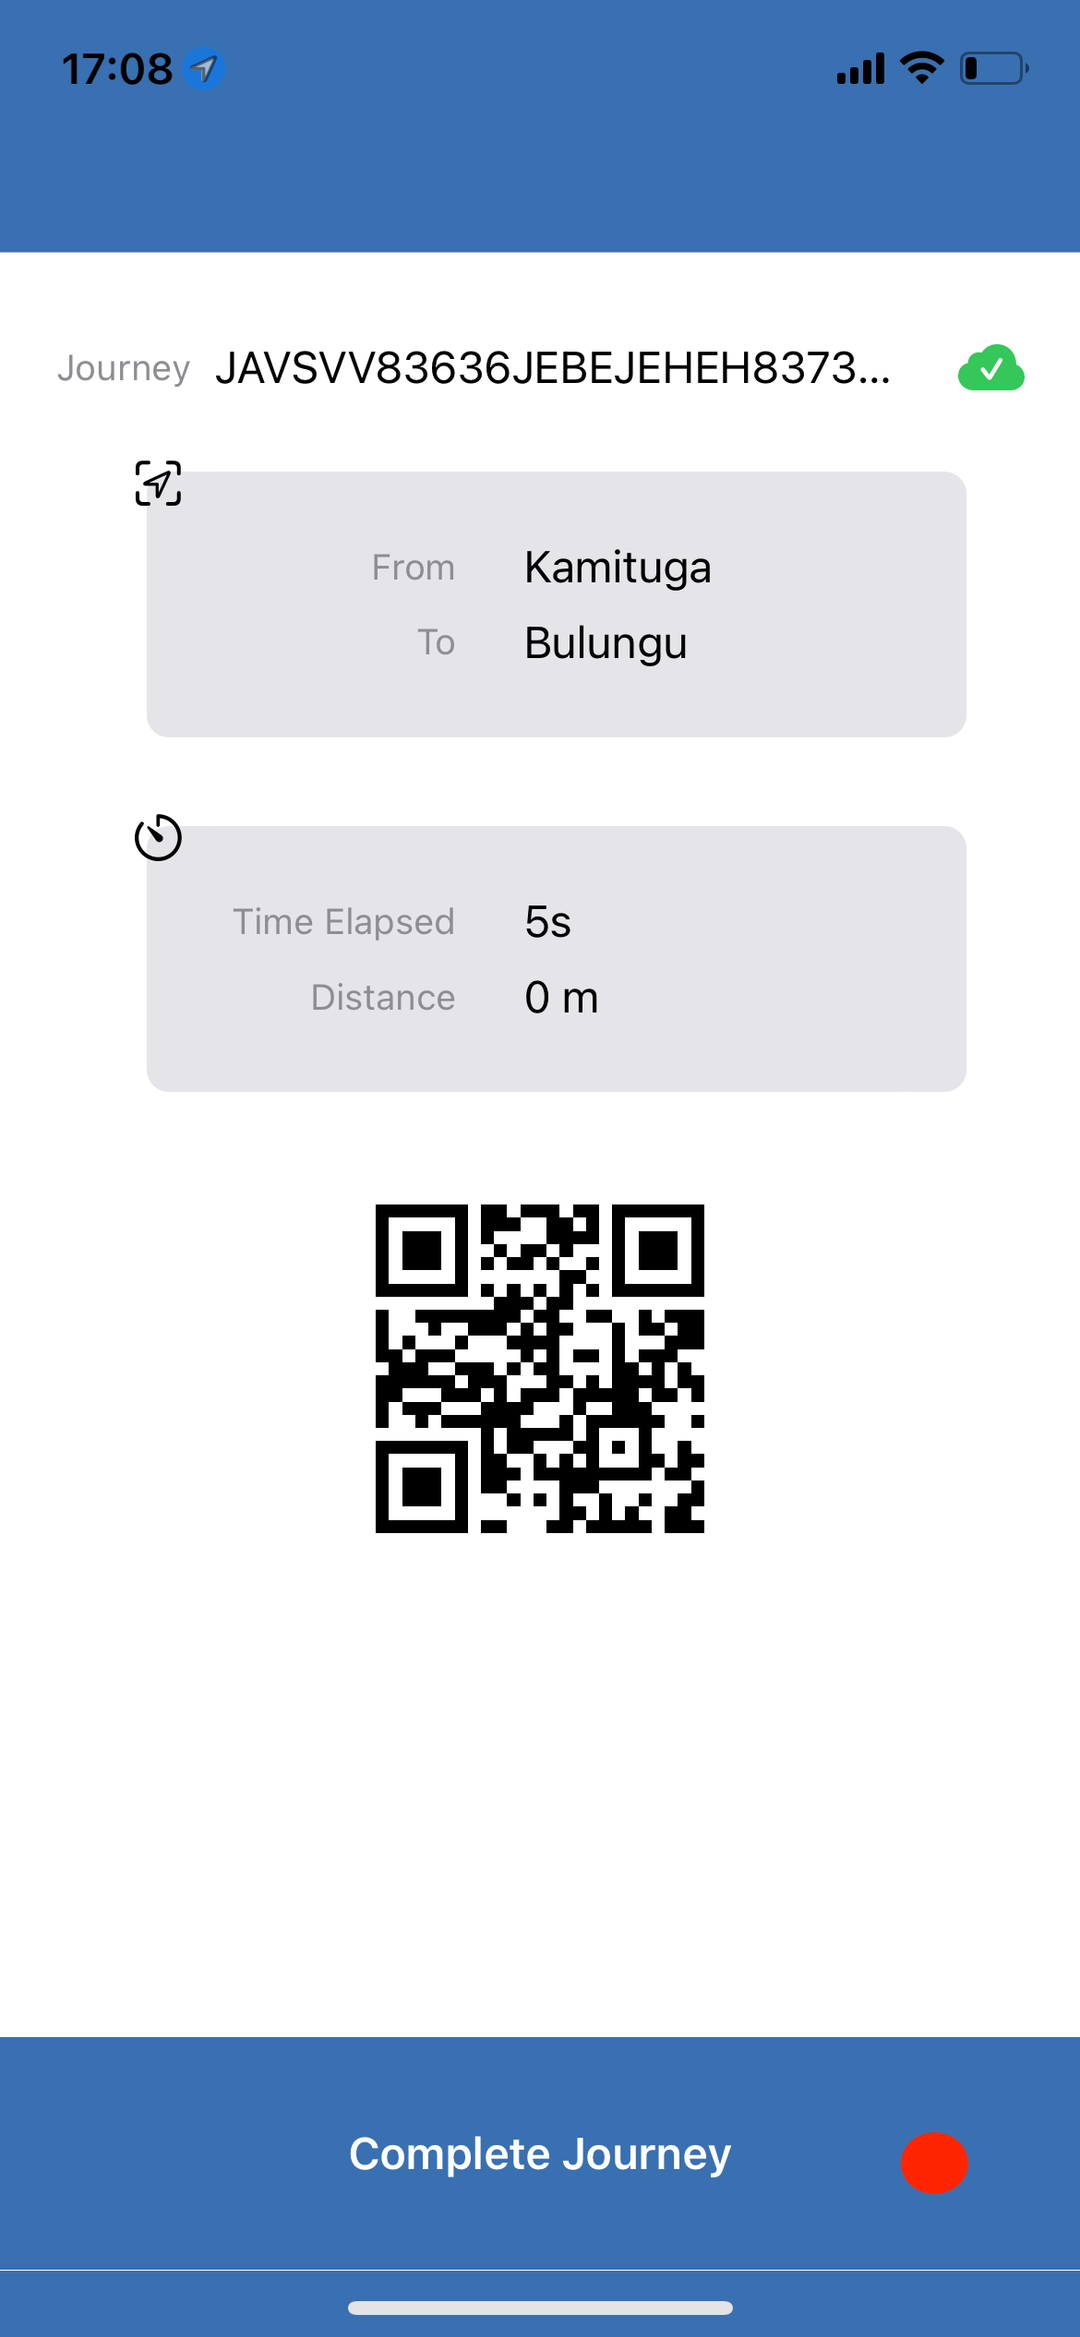
When you arrive at your destination, press ‘Complete Journey’ to mark the end of the journey
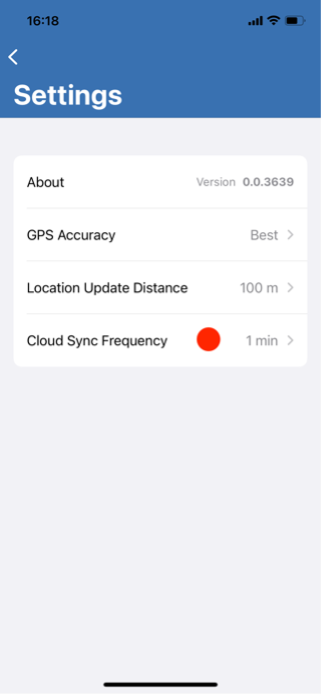
![IMG_0763.PNG](https://static.wixstatic.com/media/6b9d1a_4484688c17e34979a940cccda28ad370~mv2.png/v1/fill/w_169,h_366,al_c,q_85,usm_0.66_1.00_0.01,blur_3,enc_auto/IMG_0763_PNG.png)
2. How to configure app preferences
-
Open the app
-
Press the menu button, in the top-right corner
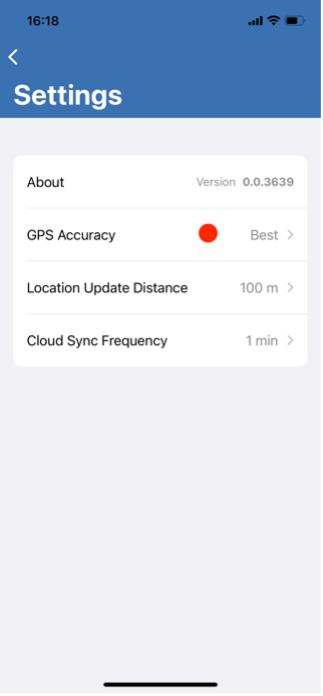
![IMG_0764.PNG](https://static.wixstatic.com/media/6b9d1a_aa739fc0c4344e0fb440b5ebfdc70fb7~mv2.png/v1/fill/w_168,h_364,al_c,q_85,usm_0.66_1.00_0.01,blur_3,enc_auto/IMG_0764_PNG.png)
-
Select ‘Settings’
-
To change to another GPS Accuracy setting, tap on ‘GPS Accuracy’, and select the desired accuracy in the list
![Picture 6.png](https://static.wixstatic.com/media/6b9d1a_16a3344352514719ab635d9cd73bb4d8~mv2.png/v1/fill/w_140,h_302,al_c,q_85,usm_0.66_1.00_0.01,blur_3,enc_auto/Picture%206.png)
![Picture 7.png](https://static.wixstatic.com/media/6b9d1a_a4e3577b7c1246a68c2000c467f3f6d6~mv2.png/v1/fill/w_140,h_302,al_c,q_85,usm_0.66_1.00_0.01,blur_3,enc_auto/Picture%207.png)
-
To change to another Location Update Distance setting, tap on ‘Location Update Distance and select the desired distance in the list
![Picture 8.png](https://static.wixstatic.com/media/6b9d1a_96cf8af89943463b8023fe3065520370~mv2.png/v1/fill/w_140,h_302,al_c,q_85,usm_0.66_1.00_0.01,blur_3,enc_auto/Picture%208.png)
![Picture 9.png](https://static.wixstatic.com/media/6b9d1a_3a4843572fe84e4daea443a7eab9096b~mv2.png/v1/fill/w_140,h_302,al_c,q_85,usm_0.66_1.00_0.01,blur_3,enc_auto/Picture%209.png)
-
To change to another Cloud Sync Frequency setting, tap on ‘Cloud Sync Frequency, and select the desired frequency in the list
![Picture 10.png](https://static.wixstatic.com/media/6b9d1a_a17c610aace444c886f4911046d703fb~mv2.png/v1/fill/w_140,h_302,al_c,q_85,usm_0.66_1.00_0.01,blur_3,enc_auto/Picture%2010.png)
![Picture 11.png](https://static.wixstatic.com/media/6b9d1a_502c9468a02e4133b90b3971b7a9c414~mv2.png/v1/fill/w_140,h_302,al_c,q_85,usm_0.66_1.00_0.01,blur_3,enc_auto/Picture%2011.png)
For any enquiries or questions, please contact support@circulor.com